
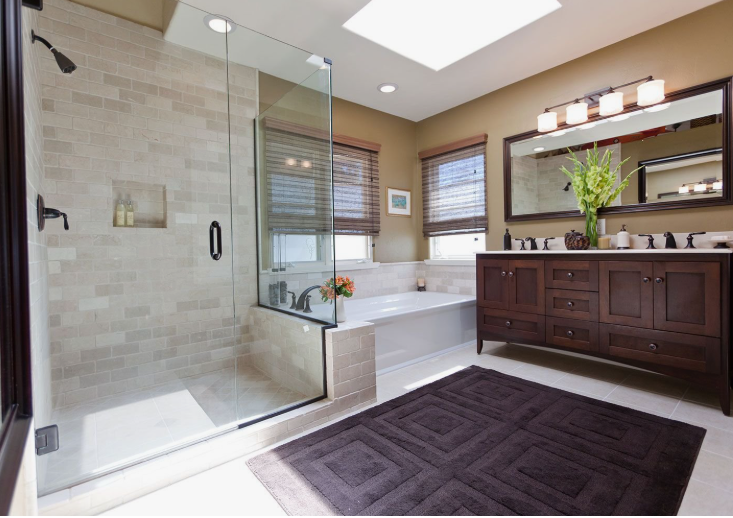
Imagine stepping into a modern, luxurious bathroom that transforms your daily routine. Southern New Hampshire Remodeling specializes in turning this vision into reality through expert bathroom gut renovation projects. A well-executed remodel not only enhances your home’s aesthetic appeal but also boosts its market value, making it a smart investment. From complete demolition to installing stylish fixtures, lighting, and tiles, our comprehensive guide outlines every step to create your dream bathroom. Discover how Southern New Hampshire Remodeling’s professional remodeling services can elevate your lifestyle with functional, beautiful designs tailored to your needs.
Bathroom Remodeling Project
Who doesn’t like to have their traditional bathrooms transformed into modern bathrooms? Well, no one. For that reason, gut bathroom remodeling is quite popular nowadays. It involves completely overhauling bathrooms and adding a contemporary touch to landscapes.
If this idea moves you, this guide is for you! Let us walk you through the overall process of giving a complete bathroom makeover from scratch.
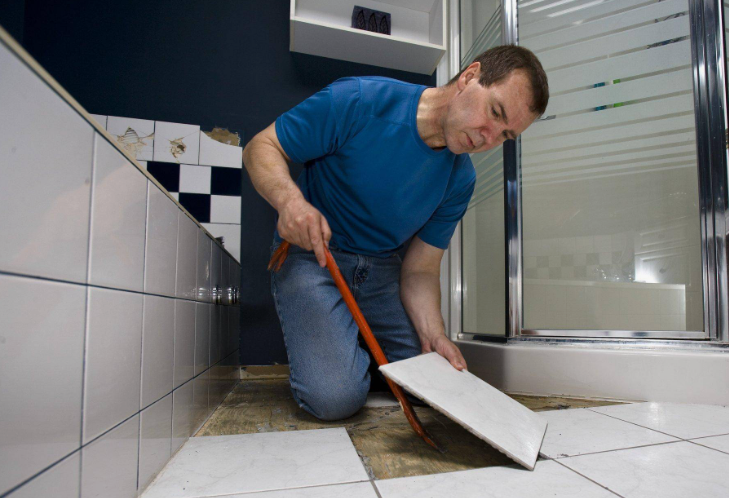
Step 1: Complete Demolition
Would you like to have your bathroom demolished and then regret that some elements should have remained the same? No, right? That’s why it’s crucial to have a clear vision of how you want your final bathroom to look.
The clarity will empower you to make decisions priorly to and guide your renovation contractor in making home improvements accordingly.
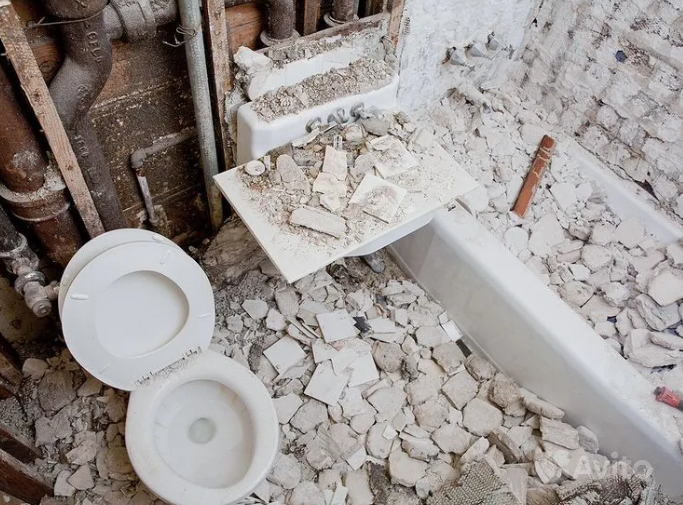
PRO TIPS TO FOLLOW!
| Turn Off Utilities: | Shut off the water and power supply to the bathroom to avoid any hazards. |
| Remove Fixtures: | Take off the fixtures, faucets, and accessories from the bathroom. |
| Removing Old Flooring and Tiles: | Demolish old flooring and worn-out tiles. |
| Demolition Safety: | Wear proper safety gear at the demolition site. |
Step 2: Incorporate Structural Changes
Once you have demolished and restored the old bathroom structures to their foundational state, plan to add structural changes to the bathroom’s foundation. Consult with your licensed remodeler to ensure everything is done according to your vision and the codes and conduct of the local authorities.
Step 3: Adding Plumbing and Electrical Upgrades
This is the central part, where you add plumbing and electrical updates to your bathroom. This is the essence of this remodeling project, as it ensures its overall functionality. This step is crucial in determining the position of your electrical and plumbing points.
Electrical Points Installation
Installing electrical points is crucial, as it will impact the functionality of your bathroom if your power outlets and lighting are placed at a convenient location.
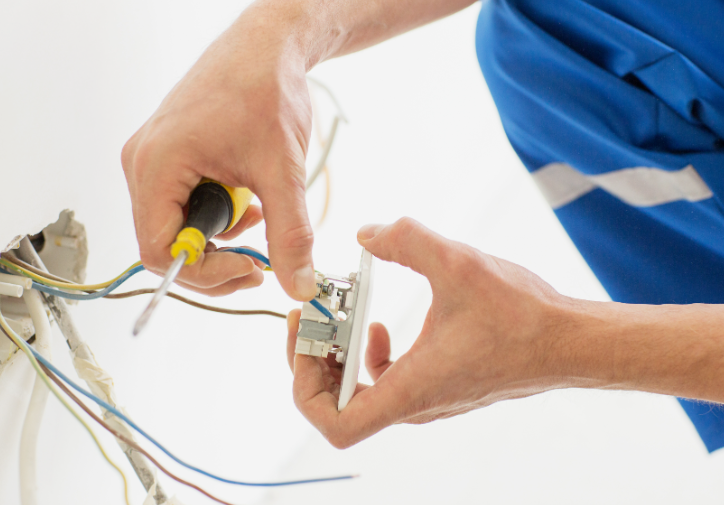
Ensure the following elements while electrical work is being done:
| Lighting Installation | Incorporate dimmable lighting in the shower area and brighter lights near the vanity. |
| Add GFCI Outlets | Install ground fault circuit interrupters near water sources to prevent electric shocks. |
| Exhaust Fan | Ensure exhaust fan installation near the bathtub or shower area for proper ventilation, thus avoiding mold damage. |
Plumbing Installation
Plumbing is the essence of a bathroom remodeling project, so carefully place the plumbing points in key areas.
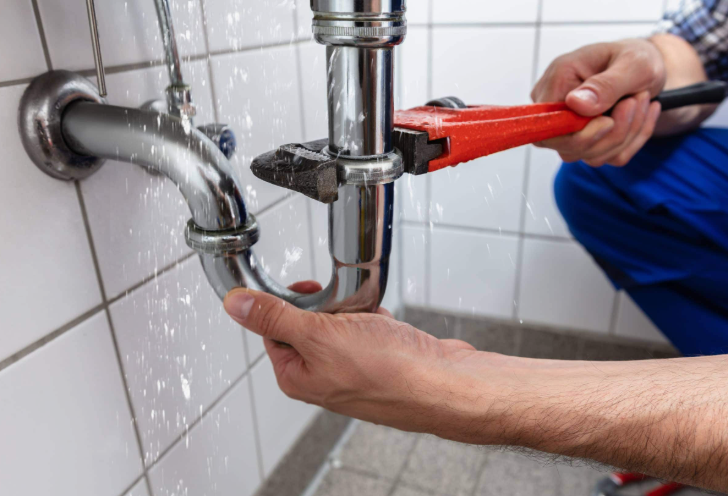
Consider the following elements while installing:
| Install New Fixtures | A stage where rough-ins for bathtubs, showers, and sink connections are designed. |
| Adjust Plumbing for Shower/Bathtub | Either you want a rainbow shower or a dual shower control system, install inlet points accordingly. |
| Toilet Installation | If you’re relocating the location of the toilet, that’s the time to get the plumbing done accordingly. |
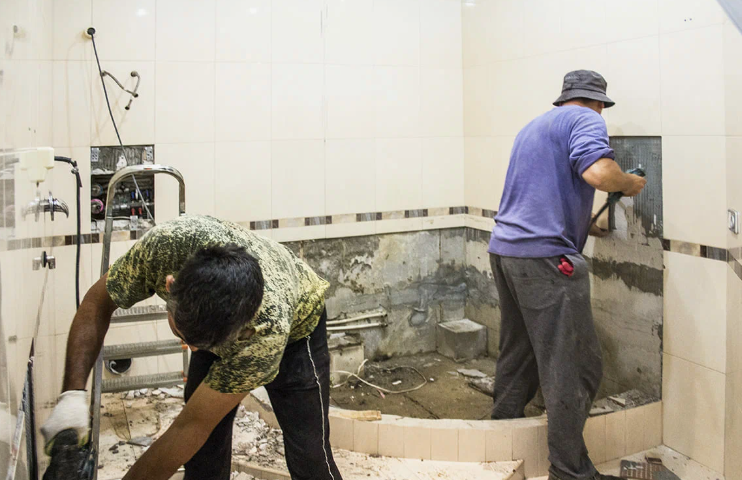
Step 4: Installing the Flooring, Tiles, and Accessories
Next comes installing flooring, tiles, and other accessories. This is a crucial stage, as it will establish the layout of your bathroom, which will ultimately support the rest of the accessories.
| Tile Floors | Incorporate ceramic or porcelain tiles in flooring for their durability and water resistance. |
| Shower and Wall Tiles | Stones or porcelain should be incorporated in the shower region due to their water-resistant properties to prevent water damage. |
| Non-Slip Flooring | Non-slip flooring material must be used to avoid slippage. |
It’s time to install the accessories in the bathroom for a final look. Bathtubs, walk-in showers, and toilets must be installed now.
Consider the following tips while doing so;
| Toilet Installation: | Install toilets properly to prevent any leaks |
| Installation of Bathtub | Decide whether you need a standalone tub or a built-in bathtub for a tub installation. |
| Add Shower Enclosure | Incorporate a shower enclosure for a clean and modern look. |
Step 5: Installing Vanity, Lighting
Who doesn’t like to have a bathroom vanity with proper lighting and storage capacity? It’s time to add lighting. Bright lights must be installed near the vanity to help get ready. At the same time, the storage capacity of the cabinet framing will encapsulate all your items, offering a modern and stylish appeal.
| Vanity Installation | An open vanity provides an aesthetic appeal, while a dual vanity offers more functionality and is convenient for shared spaces. |
| Sink Installation | Install a sink near the vanity to ensure the plumbing doesn’t cause any leakage. |
Step 6: Inspecting and the Final Finishing
Once you’re done with these installations, it’s time to refinish the bathroom with lighting, painting, and decor.
Choosing the proper lighting, decor, and paint color significantly elevates your bathroom experience by making it relaxing.
| Paint Colors | You may use light tones such as soft blues or white that create a serene atmosphere, or you can go with darker shades such as navy blue, chic black to have a sophisticated look. |
| Decor | Add a few plants, frames, or candles to give off a cozy appeal. |
Here you go; your bathroom has already been remodeled!
Conclusion
A bathroom gut renovation is more than a facelift; it’s an investment in comfort and property value. This guide from Southern New Hampshire Remodeling has walked you through the essential steps, from demolition to final decor, ensuring a seamless transformation. By incorporating modern fixtures, durable tiles, and thoughtful design, you can create a bathroom that’s both functional and stylish. Whether upgrading plumbing, adding a vanity, or choosing serene paint colors, our expert tips help you collaborate with contractors for a flawless remodel. Elevate your home and lifestyle with a stunning bathroom tailored to your vision.
FAQs
1: Why is bathroom renovation necessary?
Bathroom renovation is necessary as it adds value to your home, increases ROI in the long run, and elevates your lifestyle quickly.
2: How long does it take a contractor to remodel a bathroom?
The bathroom remodeling timeline depends on the project’s scope; renovation typically takes 1 to 2 weeks.
3: Which is the most expensive part of bathroom remodeling?
The most expensive part of bathroom remodeling is the tiling and plumbing-related work.
4: What is the difference between bathroom remodeling and renovation projects?
Bathroom renovation involves incorporating minor changes in the bathroom, while remodeling involves a complete overhaul.
5: What is the ROI on bathroom remodeling?
If a minor remodeling is done in the bathroom, 70-80% will be ROI, while if major remodeling is done, the ROI will be almost 60-70%.